About
I was introduced to the concept of Tiling Window Managers about one year back, by Yustynn. TWMs offer a completely different take on desktop organization compared to the desktop environments provided by Windows and Mac, and the default Linux distros (Gnome, Mint, etc.), and I fell in love once I started experimenting with i3-gaps. These are all Linux-based, by the way - I'd experimented with Rainmeter on Windows for a while but it ended up being far too slow and clunky, especially if run on top of the default Windows Desktop Window Manager.
Some of the benefits of i3wm:
- Automatic sizing and distribution of windows (UIs for individual programs)
- Means of navigation between windows entirely customizable
- Beautiful and diverse customization options in an open source community
- Everything is now terminal-linked! If it can be run on a terminal, it can be integrated into i3's functionalities
- Extremely lightweight
The default i3 layout - not particularly aesthetic, but as many terminal users know functionality trumps form for many UI use cases
Turns out, with an open source community one can take this basic window manager concept and rice it to extremes. My goal with my i3 setup was to take this functionality and make it aesthetically pleasing while preserving its lightweightedness and its flexibility. The inspiration for my setup came from a post which I've since lost track of on /r/unixporn (SFW, I promise, unless your boss has a fetish for beautiful desktop environments). Regardless, I don't claim any of this as my own work; in typical programmer fashion I simply spliced great things built by many people into my idealized functional system.
Desktop Organization

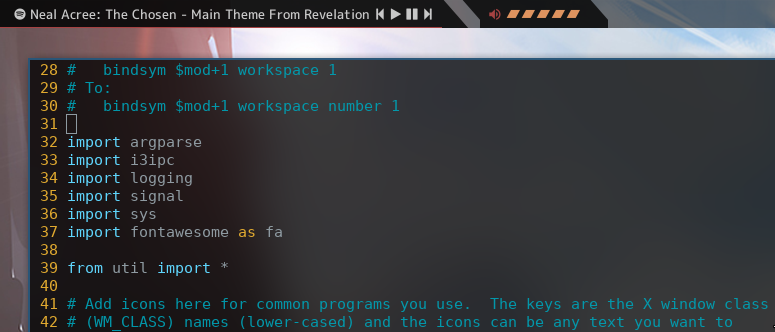
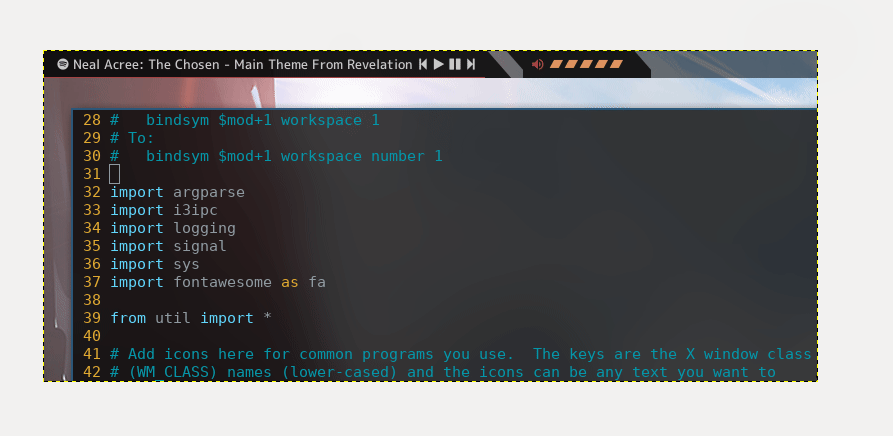
Top Polybar: Currently playing, volume control, Internet statistics, Date/time, active programs
The use case of the top polybar is mainly for utility: WiFi opens up my wicd-manager, Spotify control, and the like allowing me to control often-used processes without spawning new windows.

Bottom Polybar: Icons for window management, Disk usage, Memory usage, Temperature.
Windows can be toggled by using {Modifier Key} + 1 to 10 for windows 1-10, or {Mod1 + Mod2} + 1 to 10 for windows 11 to 20. Switching between windows using the keyboard is much more efficient than even my previous Alt+Tab use case, as this provides instant selection of the desired window and standardizes the order of windows.
Window management: Either tiled (tiles adjacent) or stacked, depending on use case. These can be stacked in a nested way (see https://i3wm.org/docs/userguide.html#_tree), for an even more compact experience
Aesthetics
Wallpapers are randomized on i3 start via the linux program feh:
exec_always --no-startup-id feh --randomize --bg-fill ~/.images/wallpapers/*
Compton is a compositor which allows for modification of window aesthetics - opacity, shadow, etc. which gives a beautiful blurred-glass effect (goal is to be hardly noticeable) on the background of windows.
exec_always --no-startup-id killall compton; compton
For window icons, I use Font Awesome - the same library is used for many of the icons on this site! Icons are then appended onto the bottom polybar via a nice script I found on GitHub.
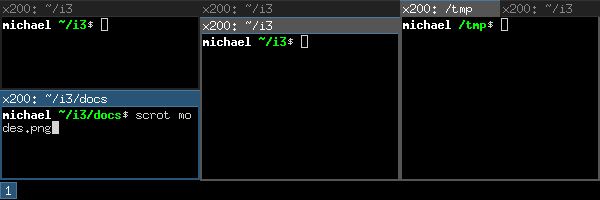
As an example of i3's customizability, I bound my Print-screen to grab a selection using xclip and maim, making specific-region-screencapping a one-click process.
bindsym Print exec --no-startup-id maim -s /tmp/tmp.png && xclip -selection clipboard -t image/png /tmp/tmp.png
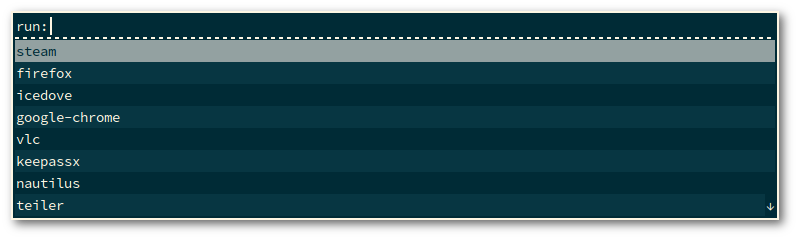
Execution of new programs is controlled via Rofi, which indexes programs in the base Linux executable folders (/bin, /usr/bin, etc) and is accessible via Win+D (https://github.com/davatorium/rofi). No more searching for programs via win+search which can take long seconds!
Overall
This process was really enjoyable from both the fulfillment and the education perspective; ricing out a personal deck has both familiarized me heavily with Linux in general and made my workflow compact, efficient, and aesthetic all at once. This has felt like a bit of a next-step, compared to the first step of terminal enthusiasts, which is configuring of their default .rc files (.vimrc, .zshrc, etc.).